VALPRO PRODUCT INSTRUCTION MANUALS
Connecting the ‘’Smart Spout’’ to a Classic line fuel can
For products with No. 892.00
The spout is compatible only with VALPRO manufactured 5L and 10L metal fuel cans. The spout cannot be installed on VALPRO 20L fuel cans, as the weight of a full fuel can is too large for the spout to support it.VALPRO takes no responsibility for the compatibility of the spout with other manufacturer fuel cans. Make sure that the seal is not damaged (cracked, torn). Replace it if damaged.
The VALPRO SMART SPOUT fuel spout is equipped with an automatic shut-off function. Refueling stops when the fuel reaches the spout tip or when the spout is removed from the fuel tank neck.
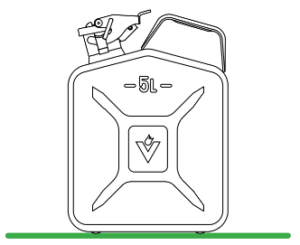
Place the fuel can on a flat, stable surface.

Turn the locking pin and pull it out of the lever as far as it will go.
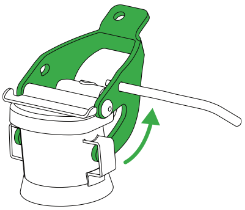
Lift the lever until the arms are fully released from the holder.
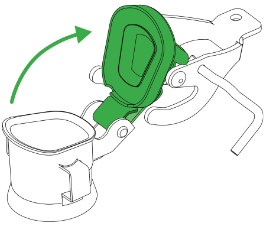
By pulling the lever, lift the lid up to open the neck opening.
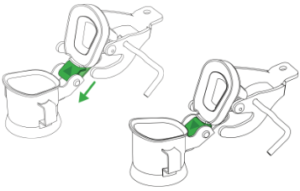
Lock the lid in place by lowering the lid hinge down.
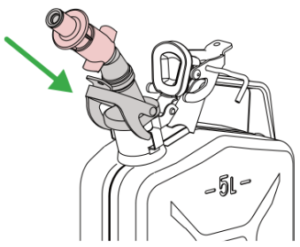
Place the fuel spout so it completely covers the neck opening of the fuel can.
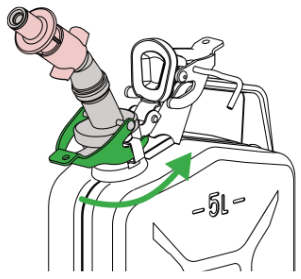
Move the arms of the lever into the cavities of the holder and push the lever of the spout down as far as it will go.
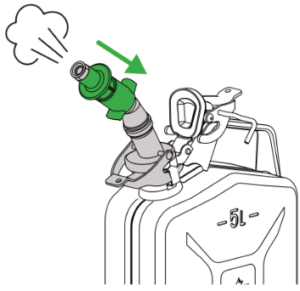
Before filling the fuel, press the tip of the spout to even out the fuel vapour pressure in the fuel can.
Make sure the fuel can is tightly sealed. Keep in mind that after use, the inside of the spout and the gasket are covered with fuel.
When transporting the fuel can, the spout must be REMOVED from the can’s neck.
VIDEO INSTRUCTION: